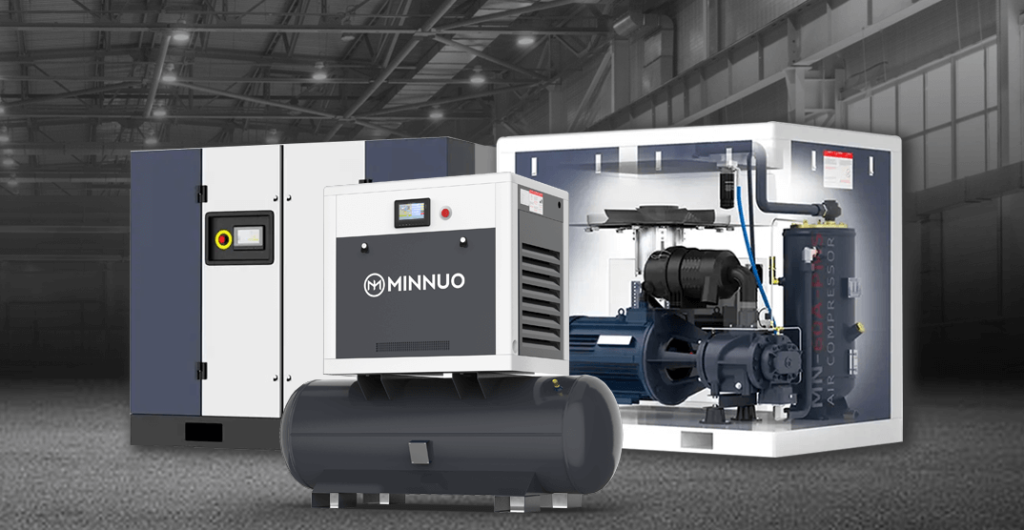
Proper installation is crucial for the long-term, efficient, and stable operation of the screw air compressor, directly impacting the equipment’s lifespan and operational costs. This guide will provide a detailed overview of the installation process, frequently asked questions, and expert advice.
Correct installation of a screw air compressor is essential. Select a well-ventilated, flat surface and ensure adequate space for heat dissipation. The power and piping systems should be compatible and safe, avoiding the use of materials that cannot withstand high pressure. After positioning the equipment, check the intake and exhaust connections and electrical wiring for safety. During the initial commissioning, pay attention to operating sounds, vibrations, and oil levels. Regular maintenance ensures efficient operation.
1. Key Preparations Before Installation: Laying the Foundation for Success
1. Choosing the Best Installation Location
- Ventilation and Heat Dissipation Priority
- The environment must have excellent ventilation and be far from high-temperature heat sources (such as boilers or areas with direct sunlight).
- Sufficient space should be left on all sides of the equipment (≥1.5 times the size of the equipment), especially around heat dissipation vents and maintenance doors, ensuring good air circulation.
- Poor ventilation is the primary cause of overheating failures.
- Foundation Solid and Level
- The ground must be firm, level, and calibrated with a precision level. Concrete foundations are the best choice.
- Uneven foundations can cause vibrations, bearing wear, and loose connections, shortening equipment life.
- Clean and Dry Environment
- Avoid dust, fibers, oil, and corrosive gases. Moisture-proof measures should be taken in high-humidity areas.
2. Evaluating the Power and Piping Systems
- Power Supply Compatibility and Safety
- Verify that the power voltage, frequency, and phase strictly match the compressor’s nameplate requirements.
- Professional wiring: Have certified electricians use specification-compliant cables and install an independent isolator switch and circuit breaker (with overload/short-circuit protection).
- Reliable grounding: The grounding system should meet local electrical codes to prevent electric shock and equipment damage.
- Compressed Air Piping System Planning
- Material selection: Metal pipes (such as galvanized steel or stainless steel) are recommended, while PVC plastic pipes should be avoided (they are prone to rupture under high pressure).
- Pipe diameter design: Calculate pipe diameter based on exhaust volume, system pressure, and pipe length to avoid excessive pressure loss.
- Slope and drainage: The main pipe should have a 1-2° slope (towards the drainage point), with an automatic drain installed at the lowest point to prevent pipe corrosion.
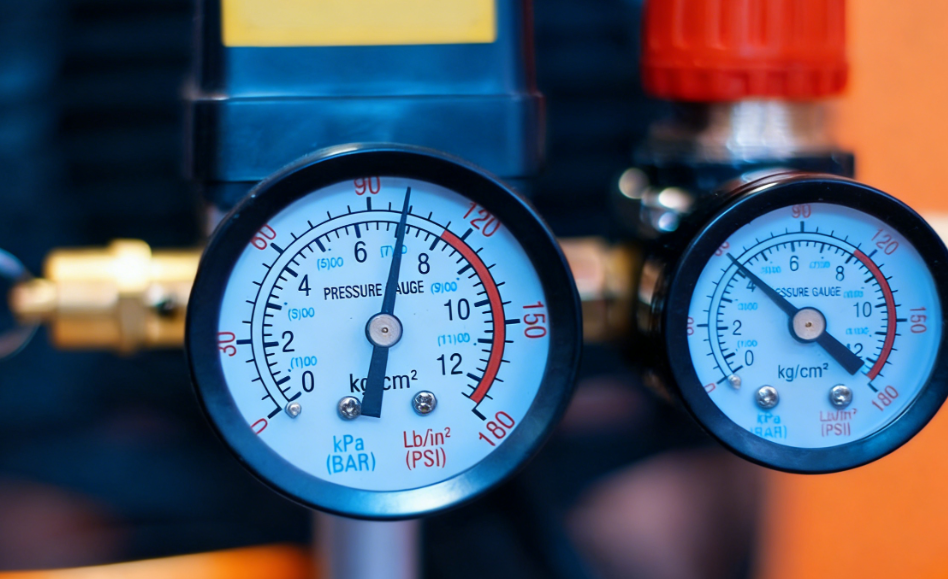
- Air storage tank installation: Install an adequately sized air storage tank at the compressor’s outlet, equipped with a safety valve, pressure gauge, and drainage valve to stabilize pressure and remove impurities.
2. Detailed Installation Steps for the Screw Air Compressor
1. Positioning and Fixing the Equipment
- Careful Handling: Use a forklift, crane, or other equipment to ensure balance and avoid collisions.
- Precise Placement: Position the compressor on a solid, level foundation.
- Firm Fixing: High-power models should be fixed using anchor bolts or vibration dampening pads to reduce noise and vibration. Recalibrate using a level.
2. Connecting the Intake and Exhaust Systems
- Intake System
- Install an intake filter: A high-quality filter should be installed before the intake valve (usually pre-installed in the equipment). Regular maintenance is required.
- Clean and short intake pipes: The pipeline should be as short and straight as possible, with a sufficiently large diameter. The intake opening should be placed in a clean, ventilated area, away from exhaust outlets and heat sources.
- Exhaust System
- Correct connection: Use flexible couplings to connect the exhaust outlet to the main pipe, absorbing thermal expansion, contraction, and vibrations.
- Avoid stress: Ensure the pipeline connection is smooth, with no external force applied to the exhaust interface.
- Air storage tank connection: The exhaust outlet should be connected to the air storage tank inlet before linking to the main pipe network.
3. Electrical System Wiring
- Power Cut-Off Operation: Disconnect the power before wiring and lock out/tag out the power supply.
- Follow Wiring Diagrams: Strictly adhere to the electrical schematic and control panel wiring diagram.
- Firm Connection: Ensure the power and control wiring are securely connected, with cables fixed using cable trays or zip ties.
- Check Grounding: Ensure proper grounding for the main equipment and control panel.
4. Cooling System Installation (If Applicable)
- Water-Cooled Models: Connect the cooling water inlet and outlet pipes, install a flow switch, and ensure that water quality, flow, and pressure meet the requirements. Use flexible hoses to isolate vibrations.
- Air-Cooled Models: Ensure the equipment has good ventilation around it, and that the radiator fins are clean and unobstructed.
5. Lubricating Oil (Coolant) Check and Filling
- Oil Level Check: Before the first operation, check the oil level, which should be between the upper and lower scale lines on the sight glass (preferably slightly above the middle line).
- Recommended Oil: Use the specified lubricating oil recommended by the manufacturer, as poor-quality oil can cause failures and void warranties.
6. Initial Commissioning and System Testing
- Thorough Recheck: Inspect all connections, oil levels, removal of shipping restraints, and confirm the intake is unobstructed.
- Momentary Test: Start the motor briefly and check the direction of rotation. If it is incorrect, switch the power phase sequence.
- No-Load Run: Run the compressor without load for 5–10 minutes, monitoring the sound, vibration, voltage, current, temperature, and oil pressure.
- Load Run and Parameter Settings:
- Set the load/unload pressure and verify that the equipment operates correctly within the set pressure range.
- Check exhaust temperature (air-cooled: 75–95°C, water-cooled: 70–90°C), current stability, and use soapy water to check for leaks.
- Manually test the automatic drain to ensure proper operation.
- System Pressure Hold Test: Close the storage tank valve, record the pressure drop, and check the system’s sealing integrity.
3. Post-Installation Debugging, Optimization, and Maintenance Starting Point
1. Early Operation Monitoring
- Increase inspection frequency during the first 24–48 hours and record operating data (sound, vibration, temperature, oil level, current, etc.) to establish baseline values.
2. System Fine-Tuning
- Based on operating data and usage patterns, adjust pressure settings, pipeline pressure drop, and automatic drain intervals.
3. Establish a Maintenance Schedule
- Follow the manufacturer’s recommended periodic maintenance:
- Air Filters: Clean or replace regularly. Blockages increase energy consumption.
- Lubricating Oil and Oil Filters: Replace according to the manual (the first oil change may be sooner for new units).
- Oil-Gas Separator: Replace if the pressure difference is too large.
- Cooling System: Clean the radiator for air-cooled models and maintain the water treatment system for water-cooled models.
- Fastener Check: Regularly check bolt tightness during the early operation phase.
- Drain Valve Maintenance: Clean the automatic drain regularly.
4. FAQ about Screw Air Compressor Installation
Q1: Why is ventilation so important? What are the consequences of poor ventilation?
A1: Poor ventilation causes heat buildup, reducing compression efficiency and increasing energy consumption, potentially leading to carbonization of lubricating oil, bearing damage, or even compressor failure.
Q2: What impact does an uneven floor have? How can it be solved?
A2: It causes vibrations, bearing wear, etc. Use adjustable wedge-shaped shims with a level to adjust the surface to level and then tighten the equipment.
Q3: Is it really necessary to add a filter to the intake pipe? What should be considered for outdoor intake installation?
A3: Absolutely necessary! For outdoor installations, add rain, snow, and insect/bird-proof intake hoods, and position the intake facing down or away from debris.
Q4: What are the key points for electrical wiring safety?
A4: Cut off power before wiring, ensure proper specifications, correct wiring, reliable grounding, and professional electricians for installation.
Q5: What are the most important checks before the first startup?
A5: Oil level, motor rotation direction, and removal of shipping restraints.
Q6: What support can MINNUO provide for installation of the screw ir Compressor?
A6: Installation manuals, remote/on-site guidance, global service network, and original parts.
5. Conclusion
Proper installation is key to the efficient and reliable operation of the equipment. Following the steps in this guide and focusing on site selection, foundation, electrical, piping connections, and commissioning, along with establishing a maintenance plan, will maximize ROI. For complex installations, it is recommended to contact authorized engineers for professional services.
Let MINNUO‘s professional expertise safeguard your compressed air system!

 Email
Email sales:+86 15366749631